Unleashing Gemini CLI Power in GitHub Actions and Beyond
While everyone’s talking about AI coding assistants like Cursor, GitHub Copilot, and Windsurf, there’s an incredibly powerful tool flying under the radar – Gemini CLI. As an AI Engineer at Google, I’ve discovered that Gemini CLI fills a completely different niche that’s game-changing for automation, CI/CD pipelines, and headless operations.
This isn’t just another API wrapper – it’s a full-featured terminal-based AI agent that brings Gemini’s power directly into your command line and automation workflows. Let’s dive into how to set it up and use it effectively.
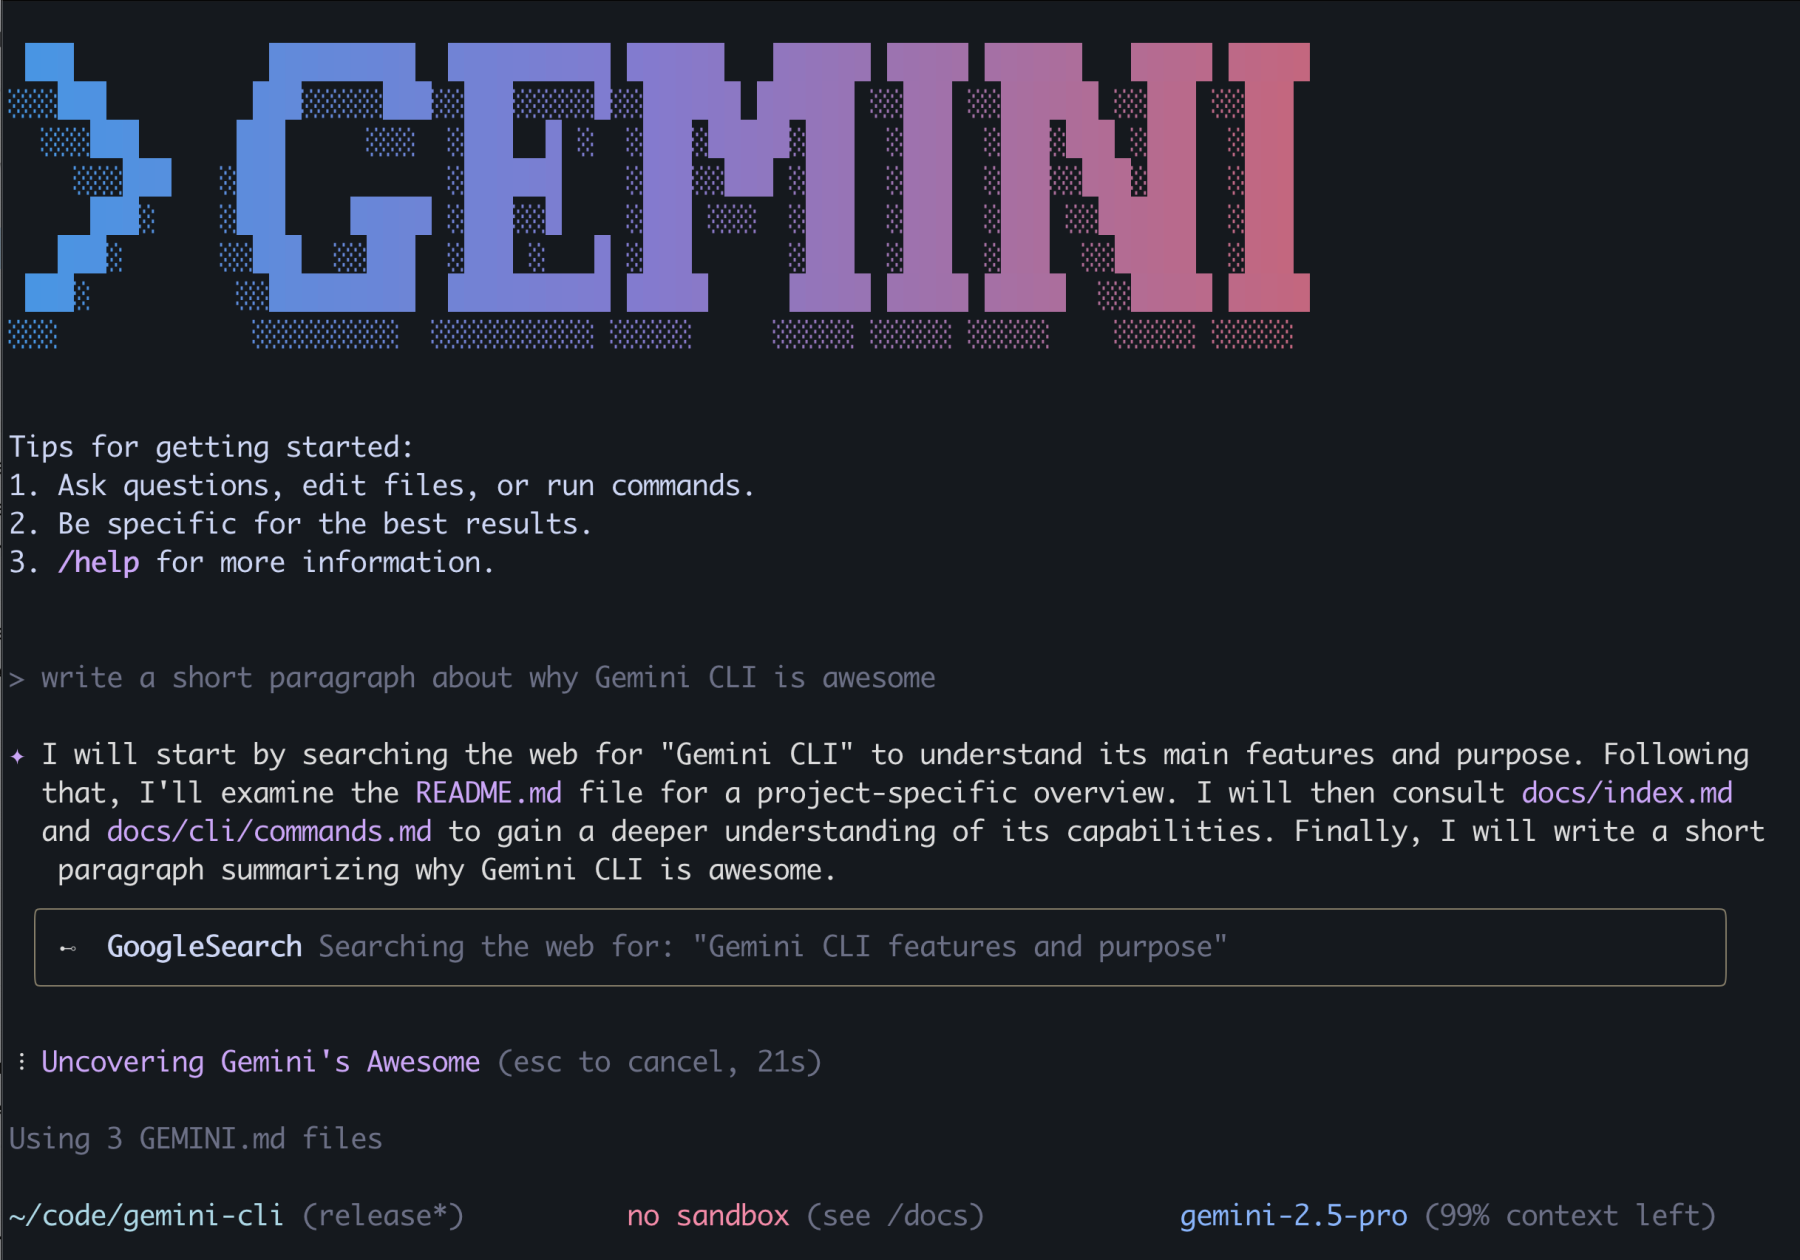
At first, I thought Gemini CLI was mainly for engineers who live in Vim and the command line – you know, the system engineers writing YAML files, infrastructure-as-code folks, or developers looking to replace code generation tools like Yeoman. And yeah, it’s absolutely perfect for that crowd. But here’s the thing: even if you’re a VS Code or Cursor power user like me, Gemini CLI opens up possibilities that no IDE integration can touch.
Don’t get me wrong – Cursor with Gemini is fantastic for interactive coding, real-time suggestions, and pair programming sessions. But Gemini CLI? That’s where the magic happens when you need AI that works without human interaction, integrates into your automation workflows, and handles complex multi-step tasks that go way beyond code completion. It’s like having an AI pair programmer that never sleeps and can work across your entire development pipeline.
Gemini CLI vs. IDE Integrations: Know When to Use What
Before we dive into the technical stuff, let’s talk about where each tool shines. I use both daily, and they complement each other perfectly:
Cursor IDE with Gemini Pro is my go-to for:
- Interactive coding sessions
- Real-time code suggestions and completions
- Refactoring existing code with immediate feedback
- Debugging with conversational back-and-forth
- Exploring new APIs or frameworks with guidance
Gemini CLI is where I turn when I need:
- Headless automation that runs without human interaction
- Large codebase context with multi-directory analysis
- Terminal-based AI workflows that integrate into any pipeline
- Programmatic access to Gemini’s full capabilities
- Batch processing and automation scripting
The Best of Both Worlds: Gemini CLI Companion for VS Code
Here’s where things get even more interesting. Google has released the Gemini CLI Companion extension that bridges the gap between IDE and CLI workflows. This extension gives Gemini CLI direct access to your VS Code workspace while maintaining all its headless capabilities.
1. Installing and Setting Up Gemini CLI
Installation
The easiest way to get started is with npm:
# Install globally with npm |
For the best experience, use the latest version from GitHub. This guide uses Gemini CLI v5 preview-2, which includes the most recent tool capabilities and improvements. Always check the official repository for the latest release.
Authentication and API Keys
Gemini CLI offers three authentication methods:
Option 1: AI Studio API Key (Recommended for getting started)
- Get your free API key from Google AI Studio
- Click “Create API Key” and copy the key (starts with “AIza…”)
- Set up the environment variable:
# For temporary use (current session only) |
Option 2: OAuth Login
gemini |
Option 3: Vertex AI (Enterprise)
export GOOGLE_API_KEY="your-vertex-api-key" |
Basic Usage Examples
Test your installation with these simple commands:
# Basic text query |
TIP: Use the latest version from the official repository for the best experience.
2. YOLO Mode and Settings Configuration
Understanding YOLO Mode
The --yolo flag is Gemini CLI’s most powerful feature for automation. It bypasses all confirmation prompts and automatically approves tool usage.
# Without --yolo: Gemini CLI asks permission for each file operation |
--auto-edit Flag:
Similar to --yolo but specifically focused on file editing operations, automatically accepting proposed code changes without manual review.
When to use –yolo vs when not to:
Use --yolo for:
- Automation scripts and CI/CD pipelines
- Working in isolated environments
- Rapid prototyping
- Batch operations
Don’t use --yolo for:
- Production environments with sensitive data
- Important codebases without backups
- Shared development environments
- When unsure about operations
Settings.json Configuration
Gemini CLI includes powerful built-in tools for file operations according to the official tools documentation.
Use the Gemini CLI settings.json to configure which tools are usable and available to your project:
# Create settings directory |
Example ~/.gemini/settings.json:
{ |
Configuration Precedence:
- Command-line flags (highest priority)
- Environment variables
- Project settings (
.gemini/settings.json) - Global User settings (
~/.gemini/settings.json) - Default values (lowest priority)
3. Dependency Analysis Example
Now that we have Gemini CLI running, let’s start with an easy
example. Gemini CLI understands project structure and can maintain context across large codebases.
For example, here’s how to generate a comprehensive dependency report of your coding project:
# Analyze dependencies and save to file |
Here’s an example output from my website project:
# Dependency Analysis Report |
This automated analysis helps you stay on top of dependencies without manually checking each package.
4. Code Generation: User Management App Example
Gemini CLI excels at intelligent code scaffolding that goes far beyond traditional generators like Yeoman. The advantage over static generators is that Gemini CLI adapts to your specific requirements and incorporates the latest best practices, not outdated templates.
Here’s a complete example:
# Generate a complete user management app |
I was using Windows, and the above generated app ran fine, and so did the test suite.
Test result:
> jest |
As you can see, the more specific the prompt, the more likely your starter boilerplate app will work as designed. Though I have to say, it did take me a couple of tries to find the right prompt that would produce workable code. Also understand that running the prompt multiple times won’t always give you the same output.
Are you running into issues?
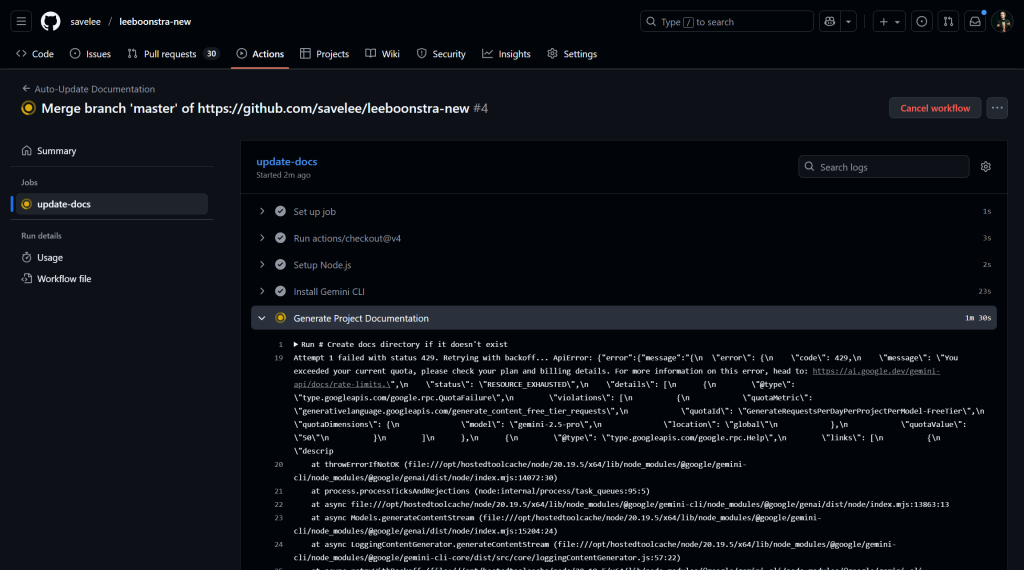
The free tier has strict limits (2 requests per minute for Gemini 2.5 Pro). You might see:
Error: You exceeded your current quota, please check your plan and billing details |
Code Generation and Quota Consumption:
Code generation tasks like the user management app example are particularly quota-intensive because they require many sequential API calls - one for each file created, plus calls for planning, dependency management, and error handling. A single --yolo scaffolding command can easily consume 10-20 API calls.
Solutions:
- Wait between requests: Free tier allows only 2 requests per minute
- Use a faster model: Try
gemini -m gemini-1.5-flash(higher rate limits, lower cost) - Upgrade to paid tier: Essential for serious code generation work
- Batch your requests: Combine multiple questions into one prompt when possible
- Be strategic: Use Gemini CLI for complex scaffolding, simpler tools for basic tasks
Here are some other ideas where you can use this. Instead of showing full examples, here are two quick use cases where Gemini CLI shines:
Kubernetes Manifests:
gemini --yolo "Generate Kubernetes deployment manifests for a Node.js app that runs 3 replicas, uses Redis for caching, includes health checks and resource limits, and follows security best practices" |
Terraform Infrastructure:
gemini --yolo "Generate Terraform configuration for AWS that creates a VPC with public/private subnets, EKS cluster with proper security groups, ElastiCache Redis cluster, and Application Load Balancer with current best practices" |
This beats any static generator because it adapts to your specific requirements and incorporates the latest best practices, not just outdated templates.
So far, we haven’t used Gemini CLI where it outbeats Agent IDE integration. So let’s focus on headless integration next – this is where Gemini CLI shines.
5. Building GitHub Actions Integration: Combining the Tools
Here’s where we combine Gemini CLI’s core capabilities with GitHub Actions to create powerful automation. Since Gemini CLI doesn’t have built-in GitHub Actions integration, we’ll build our own workflows that leverage its headless scripting capabilities.
For CI/CD environments, you’ll want to store your API key securely:
- Go to your repository settings
- Navigate to “Secrets and variables” → “Actions”
- Add
GEMINI_API_KEYwith your API key from AI Studio
Example: Documentation Generation
The below example will automatically generate documentation for your project in GitHub when pushing code to a branch. Here’s how you do this:
Create .github/workflows/auto-docs.yml:
name: Auto-Update Documentation |
Here’s what happens under the hood. It:
- Checks out the code
- Installs Gemini CLI
- Runs Gemini CLI analysis on the project
- Creates the documentation in markdown format
6. GitHub Hooks
One of the most practical daily uses of Gemini CLI is generating better commit messages.
Git hooks provide local automation that triggers on git events. Here’s an AI-powered commit message generator:
Example: Commit Message Hook
Note: I am currently using Windows while drafting this blog post, therefore I had to do some extra steps to make sure that the hooks use PowerShell.
The git hook itself is a shell script (.git/hooks/prepare-commit-msg) that starts with #!/bin/sh, but it calls PowerShell via powershell.exe -ExecutionPolicy Bypass -File to execute a separate PowerShell script. The actual logic is in a PowerShell script (.git/hooks/prepare-commit-msg.ps1).
Create .git/hooks/prepare-commit-msg:
|
Create .git/hooks/prepare-commit-msg.ps1:
param($commitMsgFile, $commitSource) |
How to use:
- Stage your changes:
git add . - Run
git commit(no message) - Your editor opens with an AI-generated commit message
- Edit if needed and save
NOTE: Git hooks only work with command-line git, not GUI tools.
7. Conclusion
Gemini CLI represents a fundamental shift toward headless AI automation in development workflows. While IDE integrations excel at interactive coding, Gemini CLI opens entirely new possibilities for automation that runs independently of any user interface.
The teams that master these headless AI workflows today will have a significant advantage in tomorrow’s AI-driven development landscape. Start simple with automated code reviews or documentation generation, then expand into sophisticated analysis and scaffolding tasks.
As AI models continue evolving, tools like Gemini CLI will become increasingly central to how we build, maintain, and evolve software systems. The key is thinking beyond what’s possible with IDE-based tools and embracing AI that works 24/7 without human interaction.